Are you fascinated by the idea of drawing the human brain but feel intimidated by its complexity? You're not alone. Many aspiring artists find the intricate details of brain anatomy overwhelming. However, mastering simple brain drawing is not only achievable but also incredibly rewarding. Whether you're a student, an educator, or simply someone who loves to draw, learning how to create a simplified yet accurate representation of the brain can open up new creative possibilities. In this guide, we'll walk you through the process step-by-step, ensuring you gain both the expertise and confidence to draw a brain like a pro.
Drawing the brain doesn't have to be complicated. By breaking it down into manageable steps and focusing on key features, anyone can create a simple brain drawing that is both visually appealing and anatomically accurate. This guide will not only teach you the techniques but also provide valuable insights into the brain's structure, making your artwork both educational and artistic. Whether you're sketching for fun, creating educational materials, or working on a personal project, this article will equip you with all the tools you need to succeed.
In the following sections, we’ll explore the anatomy of the brain, step-by-step drawing techniques, tools you can use, and even tips for refining your skills. By the end of this article, you'll have a clear understanding of how to create a simple brain drawing that captures the essence of this incredible organ. So grab your pencil and paper, and let’s dive into the fascinating world of brain illustration!
Read also:Colin Farrells Love Life Who Is His Girlfriend In 2024
Table of Contents
- Understanding the Anatomy of the Brain
- Essential Tools for Simple Brain Drawing
- Step-by-Step Guide to Drawing the Brain
- Common Mistakes to Avoid in Brain Drawing
- Advanced Tips for Enhancing Your Drawing
- Applications of Simple Brain Drawing
- Inspiration from Famous Brain Illustrators
- How to Practice and Improve Your Skills
- The Educational Value of Brain Drawing
- Conclusion and Call to Action
Understanding the Anatomy of the Brain
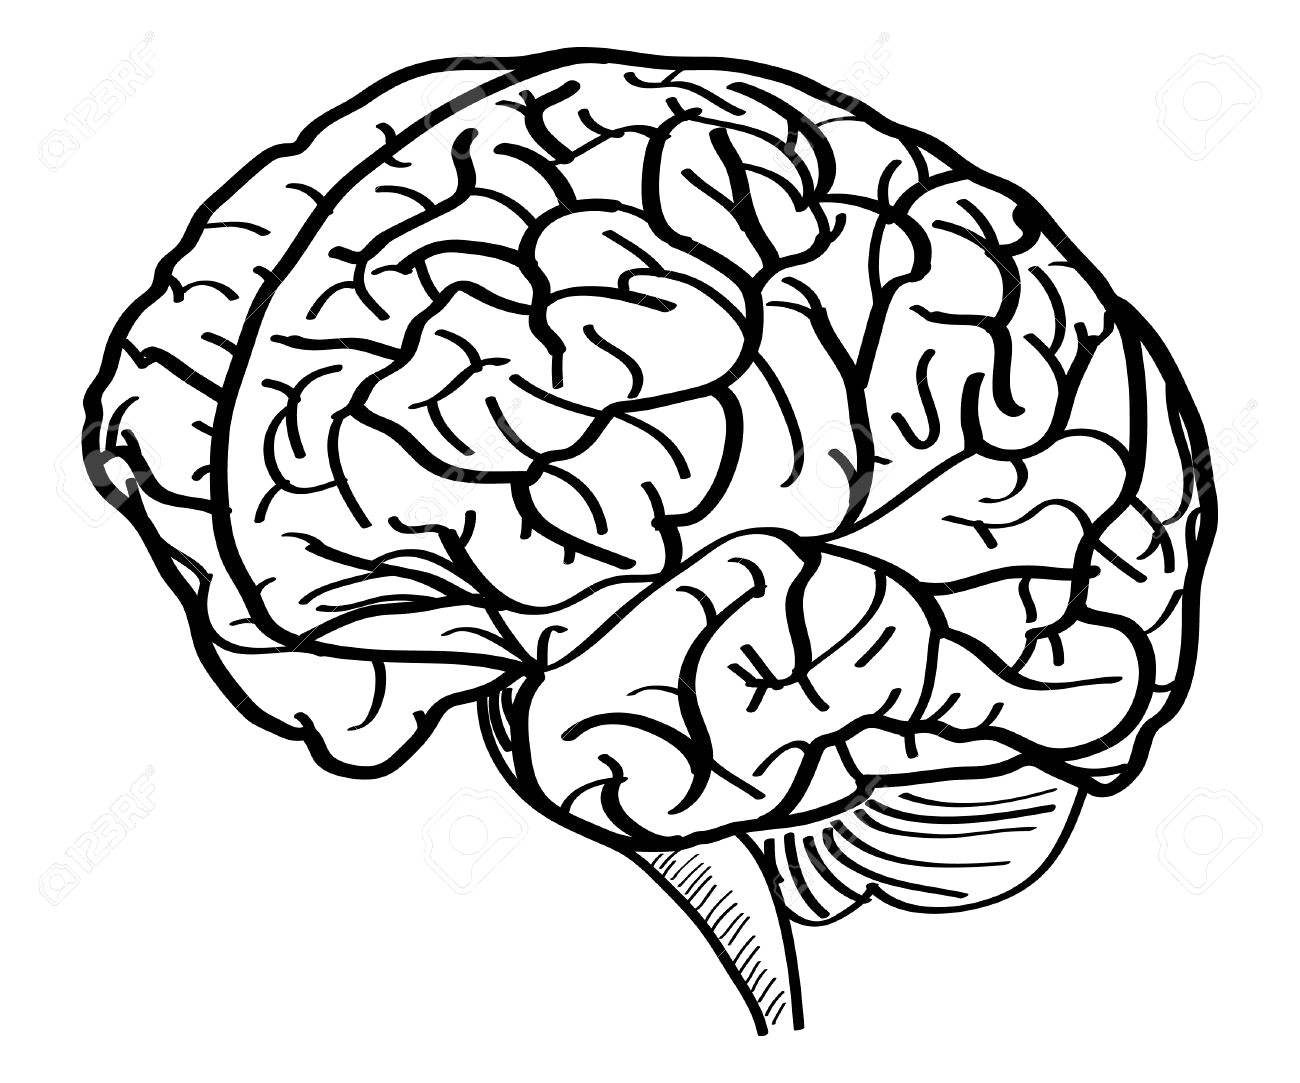
Before you start drawing, it's essential to familiarize yourself with the basic anatomy of the brain. The human brain is a complex organ composed of several key parts, each with a unique shape and function. Understanding these components will help you create a simple brain drawing that is both accurate and visually appealing.
The brain is divided into four main regions: the cerebrum, cerebellum, brainstem, and limbic system. The cerebrum is the largest part and is responsible for higher cognitive functions like thinking, memory, and decision-making. It consists of two hemispheres, each divided into four lobes: frontal, parietal, temporal, and occipital. The cerebellum, located at the back of the brain, plays a crucial role in coordination and balance. The brainstem connects the brain to the spinal cord and controls essential functions like breathing and heart rate. Finally, the limbic system, which includes the hippocampus and amygdala, is involved in emotions and memory.
For a simple brain drawing, you don’t need to include every detail. Instead, focus on the major structures: the cerebrum, cerebellum, and brainstem. These parts are easy to identify and provide a solid foundation for your drawing. By understanding their shapes and relative positions, you can create a simplified yet anatomically correct representation of the brain.
Essential Tools for Simple Brain Drawing
The tools you use can significantly impact the quality of your simple brain drawing. Here are some essential items to consider:
- Pencils: A range of graphite pencils (e.g., 2H, HB, 2B) allows you to create different shades and textures.
- Eraser: A kneaded eraser is ideal for correcting mistakes and creating highlights.
- Paper: Use smooth, heavyweight paper to prevent smudging and ensure clean lines.
- Reference Images: High-quality diagrams or photographs of the brain can serve as valuable guides.
- Blending Tools: Tortillons or blending stumps help achieve smooth gradients and realistic shading.
Step-by-Step Guide to Drawing the Brain
Now that you’re familiar with the brain's anatomy and have your tools ready, let’s dive into the drawing process. Follow these steps to create a simple brain drawing:
Step 1: Sketch the Outline
Start by lightly sketching the overall shape of the brain. Use an oval for the cerebrum and a smaller rounded shape below it for the cerebellum. Add a vertical line to indicate the separation between the two hemispheres.
Read also:Unveiling The Mystery Who Is Tim Pools Girlfriend
Step 2: Add the Brainstem
Draw a narrow rectangle extending downward from the base of the cerebrum to represent the brainstem.
Step 3: Define the Lobes
Divide the cerebrum into four lobes using curved lines. Label them if necessary to keep track of their positions.
Step 4: Add Details
Include subtle folds and grooves (gyri and sulci) on the surface of the cerebrum and cerebellum. Keep these details minimal for a simple brain drawing.
Step 5: Shade and Refine
Use shading techniques to add depth and dimension to your drawing. Focus on creating contrast between the different parts of the brain.
Common Mistakes to Avoid in Brain Drawing
Even experienced artists can make mistakes when drawing the brain. Here are some common pitfalls to watch out for:
- Overcomplicating Details: Adding too many folds and grooves can make your drawing look cluttered.
- Incorrect Proportions: Ensure the cerebrum, cerebellum, and brainstem are proportionate to each other.
- Neglecting Shading: Proper shading is crucial for creating a three-dimensional effect.
Advanced Tips for Enhancing Your Drawing
If you’re ready to take your simple brain drawing to the next level, consider these advanced tips:
- Experiment with Mediums: Try using colored pencils, markers, or digital tools to add variety to your artwork.
- Study Realistic Anatomy: Refer to medical textbooks or online resources for a deeper understanding of brain anatomy.
- Practice Consistently: Regular practice will help you refine your skills and develop your unique style.
Applications of Simple Brain Drawing
A simple brain drawing has numerous applications beyond artistic expression. Here are a few examples:
- Educational Materials: Use your drawings to create visually engaging teaching aids for students.
- Scientific Illustrations: Contribute to research papers or presentations with accurate brain diagrams.
- Personal Projects: Incorporate your artwork into journals, posters, or digital designs.
Inspiration from Famous Brain Illustrators
Throughout history, many artists and scientists have created stunning illustrations of the brain. One notable figure is Santiago Ramón y Cajal, a Nobel Prize-winning neuroscientist known for his intricate drawings of neurons. His work demonstrates how art and science can intersect to create visually compelling and scientifically accurate representations of the brain.
Data Table: Santiago Ramón y Cajal
| Name | Santiago Ramón y Cajal |
|---|---|
| Profession | Neuroscientist, Pathologist, Artist |
| Notable Work | Neuron Doctrine, Brain Illustrations |
| Achievements | Nobel Prize in Physiology or Medicine (1906) |
How to Practice and Improve Your Skills
Like any skill, drawing the brain requires consistent practice. Here are some tips to help you improve:
- Set Goals: Dedicate specific times each week to practice brain drawing.
- Seek Feedback: Share your work with peers or mentors to gain constructive criticism.
- Experiment: Try different styles and techniques to discover what works best for you.
The Educational Value of Brain Drawing
Drawing the brain is not only an artistic endeavor but also an educational one. By engaging with the brain's anatomy through art, you can deepen your understanding of its structure and function. This knowledge can be particularly valuable for students, educators, and professionals in fields like neuroscience, medicine, and psychology.
Conclusion and Call to Action
Creating a simple brain drawing is a rewarding and accessible way to explore the fascinating world of neuroscience. By understanding the brain's anatomy, using the right tools, and practicing consistently, you can develop the skills to produce impressive and accurate illustrations. Whether you’re drawing for fun, education, or professional purposes, the techniques outlined in this guide will set you on the path to success.
We hope this article has inspired you to pick up your pencil and start drawing. Share your creations with us in the comments below, or let us know if you have any questions. Don’t forget to explore our other articles for more tips and tutorials on artistic and educational topics. Happy drawing!